Tire failures are common for cyclists, and a lot of them can be fixed with a simple bike tire patch. These patches actually go on the innertube, but they’re the go-to option for quick fixes on the road or trail. There’s only one remaining question for a lot of inquisitive folks:
How long do bike tire patches last?
A high-quality bike tire patch that is properly applied, can last as long as the remaining life of the innertube. Pre-glued patches typically don’t last as long, but they can still last up to a few months before they fail. However, any kind of patch that is not properly applied could fail quickly.
There are a lot of variables when using patches, but let’s explore their longevity. Here’s what we’ll cover below:
Are Bike Tire Patches Permanent?
Properly applied tube patches should bond with the rubber permanently. Pre-glued patches are usually less effective, only lasting a few months before failing. It comes down to the patch used and whether or not you followed the instructions closely.
There are two main kinds of innertube patches you can find.
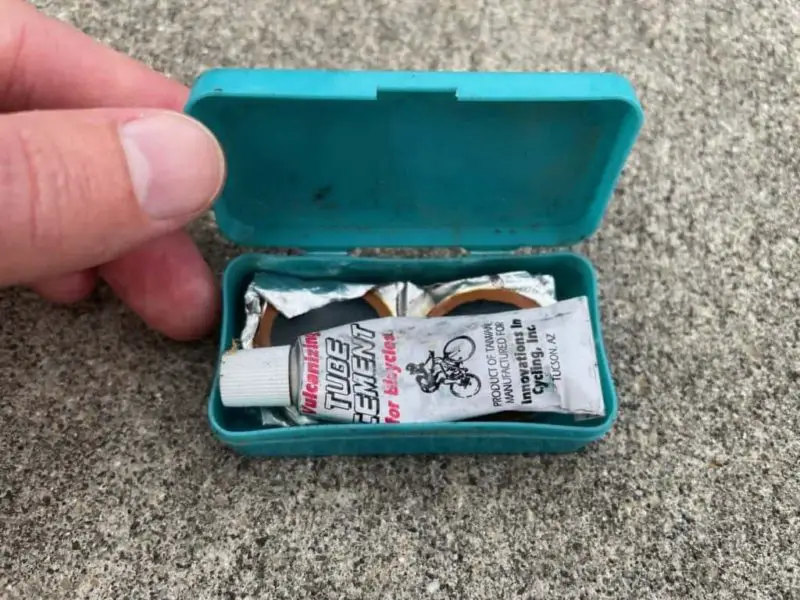
1. Pre-Glued Patches
Pre-glued patches are often convenient, coming in a tiny plastic case. They’re usually small circles and are meant to be applied directly over any breach of the innertube.
They have the glue already applied, and something to rough up the rubber for better grip is also in the container. All you need to do is wipe off the tube, rough up the rubber, and stick the patch over the hole.
They’re great for getting the bike home after a puncture, but they’re not the best solution for long-lasting repairs on your bike.
2. Regular Patches (i.e. Not Pre-Glued)
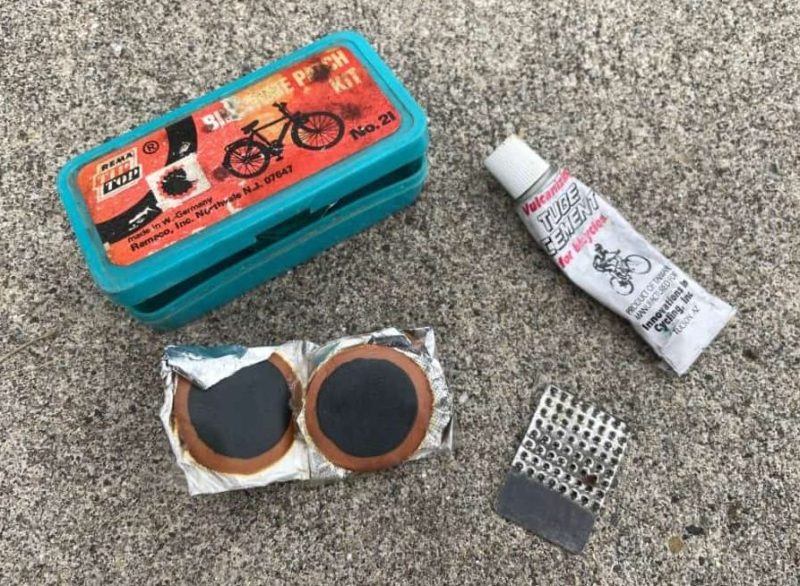
There are also bulkier kits that are meant for permanent repairs. These kits take a bit more to use, especially since you apply the glue before placing the patch.
The procedure for a proper repair is quite simple:
- Remove Your Tire – Remove the wheel from the bike frame, then use tire levers to pry the actual tire off of the rim.
- Locate Leak or Puncture – Search the innertube to find where the puncture occurred. If it’s a pinhole leak and you’re having trouble finding it, it can help to try inflating the tube in water, the bubbles will reveal even the smallest leak.
- Clean Tube Surface – Clean the surface of the tube. There should be no dirt, grease, or anything else where you plan on applying the glue. Use some soap if you have to, even light dust can affect the integrity of the patch.
- Prepare Surface – Once you’ve got a clean surface use sandpaper(usually included) to make the area around the puncture rough. This allows the glue to grip better, creating a much better bond. Make sure the surface is entirely dry before proceeding.
- Apply Glue – Lay the glue down evenly over the area to be patched.
- Apply the Patch – Then all you’ll need to do is place the patch over the puncture.
While a little bit more involved, proper patches can be permanent when applied properly. In both cases ignoring the surface preparation will lead to much faster failure of the patch. On the other hand, a good patch is effectively a permanent repair.
How Long Can You Ride on a Patched Bike Tire?
A proper patch doesn’t shorten the lifespan of a tube. A pre-glued patch, or bad patch job, will usually last a couple of months before failure. Truly bad jobs will usually just let you limp home, and you’ll want to consider re-doing the patch or just replacing the tube if it doesn’t hold.
Every situation is different, and each patch job is a bit different. A proper patch job is permanent, or will at least last as long as the innertube itself. Bad jobs tend to fail quickly, prompting replacement of the tube.
It can be frustrating to have a patch fail repeatedly, but they’ll often work at least long enough to get you home. Most serious riders carry a secondary tube or two with them, it’s much faster to just replace a tube in the field and do a proper patch job once you’re home.
Do it right and it’ll be like there was never a hole in the first place. Do it wrong and you may have anywhere from hours to months before the repair fails.
How Many Times Can You Patch a Bike Tire?
You can patch a bike tire’s innertube repeatedly as long as the damage isn’t too severe to be covered by a patch. In theory, you can patch dozens of holes over a tube’s lifespan. In practice, things get frustrating once patches begin to overlap.
You can keep putting the same tube back on the bike after patching if you need to. I’ve seen people with six patches on a single tube.
Any kind of serious damage is the real killer.
Major damage, such as something tearing the sidewall of the tire or a large, sharp rock breaching the tire, may not be patchable. In that case, you couldn’t patch the tire once, let alone multiple times.
Likewise, damage anywhere near the valve stem is a no-go.
On the other hand, most tube repairs come from a single, small protrusion into the tire or pinch flats. A small pinch flat, from hitting something like a pothole, can be easily repaired.
The damage from thorns, loose hardware, or razor-sharp rocks is usually small. The tire mitigates a large part of the damage, and patching the tube is pretty easy.
Should You Patch Your Bike Tire or Replace It?
Replacing or repairing a punctured inner tube is a personal choice, but innertubes can last for years in the right conditions. Some people replace them as soon as possible after one puncture, others may preserve them for as long as possible using carefully applied patching.
Barring major damage, your tubes should be fine for years. Inevitably they reach a point where they simply won’t hold air anymore, but in moderate temperatures and good storage conditions, it takes a long time.
Often it’s fastest to just replace them if you’re on a day ride. Keeping an extra tube in your backpack isn’t a bad idea, and bring some of the quick patches as well in case you run into more problems.
If you’re good at patching, your tubes will last for a long time. They’ll eventually wear from use, and realistically most people end up replacing them every few years. They can be stored for years when not in use if you’re careful to keep the right conditions.
Loose patches will usually end with a replacement tube. If you don’t prep properly during the patching process you’ll end up with a slow leak sooner rather than later. Removing and replacing a patch is a pain, and it’s often a better idea to just replace it at that point.
If you’re tired of having to patch or replacing a punctured inner tube constantly, you might also consider using a bike tire liner.
A tube that’s nearing the end of its useful life is easy enough to identify. The surface of the tube will begin to lighten in color from the dark black first. After that, you’ll begin to notice surface cracking or porosity which signals that the tube is degrading.
Any damage to the valve is also a no-go for repairs.
Replacing tubes is always an option, but I recommend inspecting the tube for signs of aging before you patch it. Once it shows signs of serious wear you can just replace the tube, rather than having to deal with patching it.