Ever found yourself going full throttle on a Peloton, only to feel something’s just not quite right? You tweak your seat, hoping for that ‘aha’ moment when comfort and power unite—but it’s elusive. Ever wonder why getting the seat depth perfect feels like cracking a secret code?
You’re in luck because we’ll unravel the mystery of finding that sweet spot where every pedal stroke feels like poetry in motion. Get ready to dive into the nitty-gritty of Peloton perfection—it’s trickier than you think but oh so worth it.
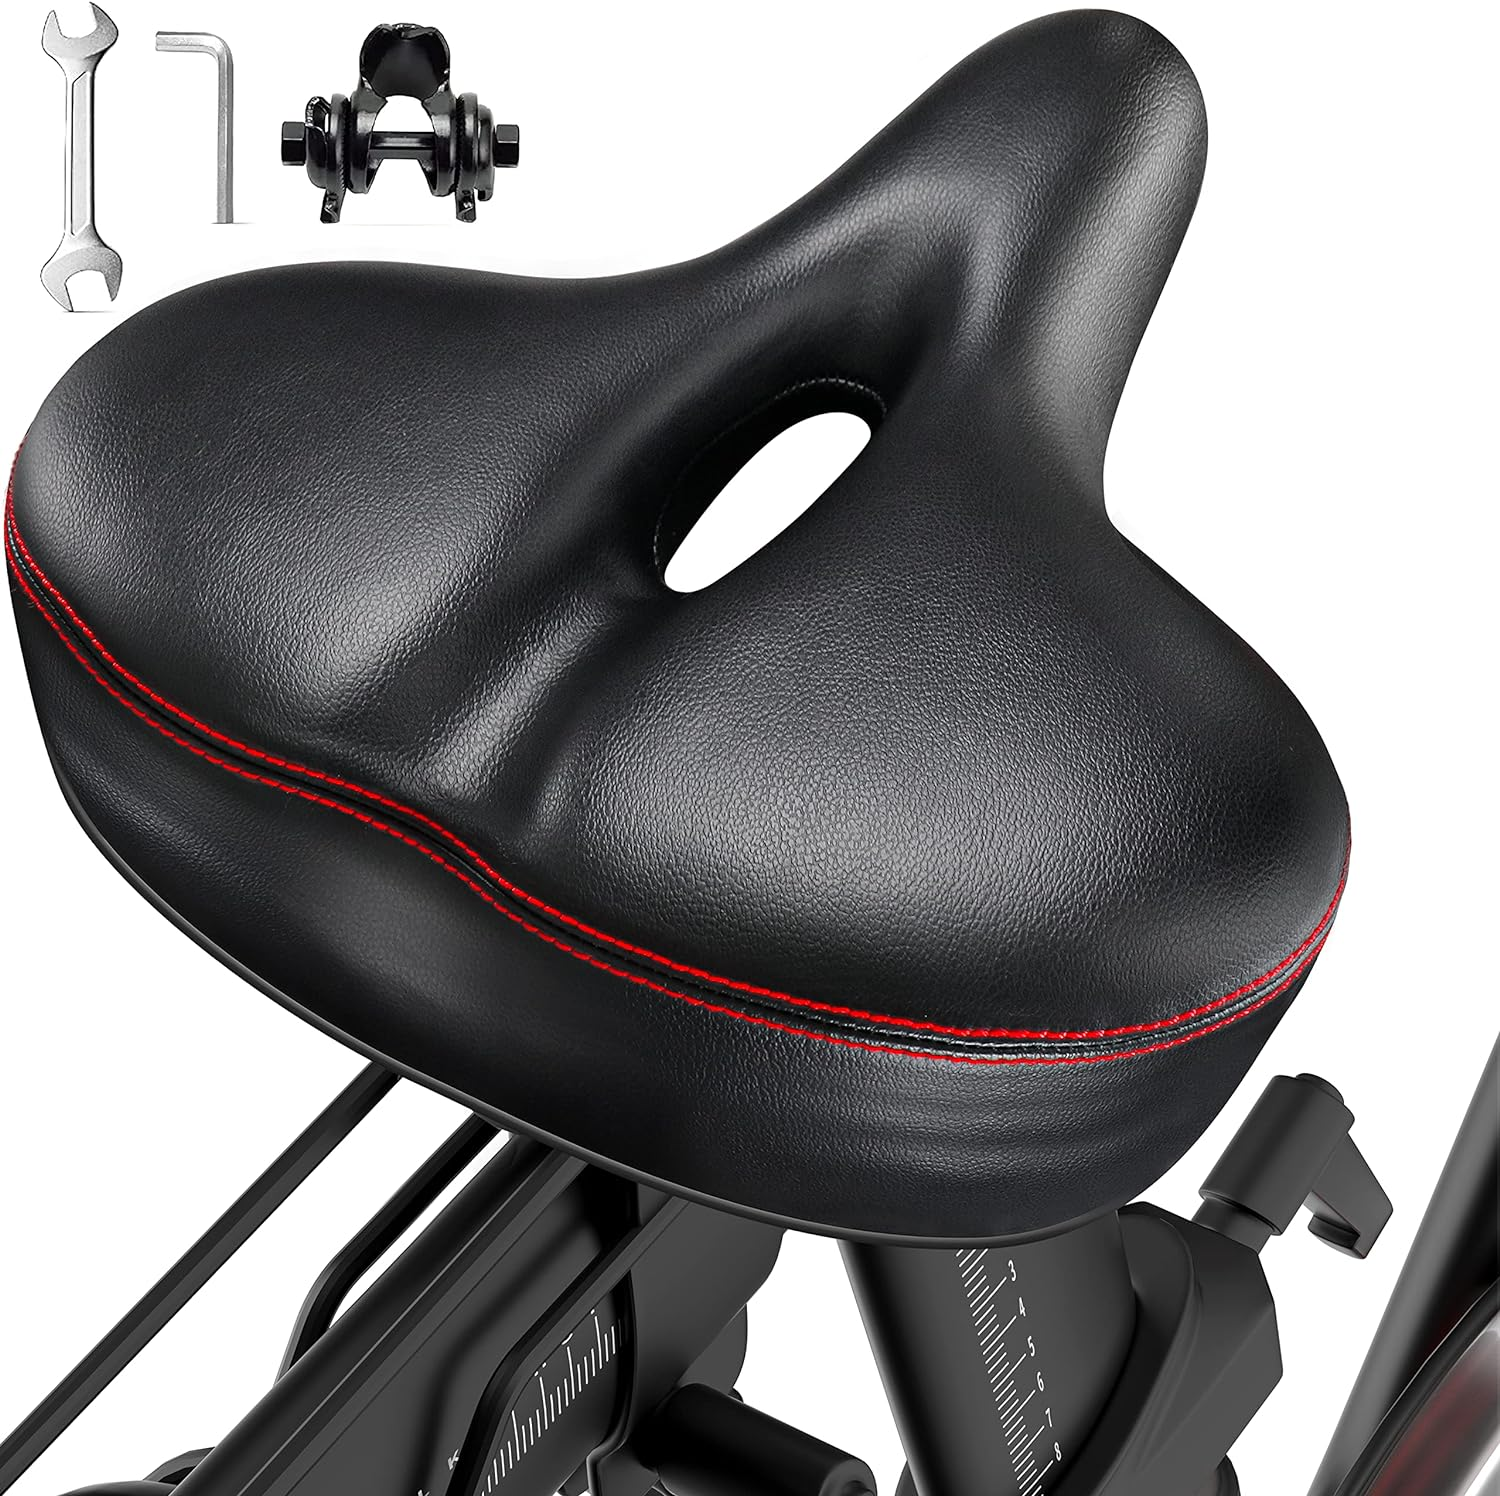
Table Of Contents:
- Understanding the Importance of Proper Seat Adjustment on Your Peloton
- The Anatomy of a Peloton Bike Seat
- Step-by-Step Guide to Adjusting Your Peloton Seat Height
- How to Find Your Perfect Peloton Seat Height
- Common Mistakes When Adjusting Peloton Seat Height
- Comparing Peloton Seat Adjustment to Traditional Bikes
- Advanced Adjustments for Seasoned Cyclists
- Maintaining Your Peloton Seat Position Over Time
- How to Adjust Peloton Seat Height FAQs
- Conclusion
Understanding the Importance of Proper Seat Adjustment on Your Peloton
Finding that sweet spot for your seat height isn’t just about comfort; it’s a game-changer for your rides. Too low, and you’re shortchanging yourself on power. Too high? You’re risking some serious joint pain. It’s like attempting to jog in footwear that don’t fit – you can certainly do it, but what will be the consequence?
The Anatomy of a Peloton Bike Seat
Peloton bikes are engineered with precision, offering an adjustable seat designed to cater to various riders’ heights and preferences. The seat itself is mounted on a post, secured by levers or knobs which, when loosened, allow vertical movement.
These adjustment points give life to the bike—like joints in our bodies—they must move smoothly and lock firmly into place once aligned with your unique physiology.
Step-by-Step Guide to Adjusting Your Peloton Seat Height
Your journey starts by standing next to the bike; heel on the pedal at its lowest point should have a slight bend in your knee—that’s how you know you’re close. Then get onboard and refine from there.
To adjust, simply pull outwards on the lever under the seat while holding onto something stable, then slide up or down before securing back into place – think of this action as similar to finding just the right grip strength during a handshake: firm yet not overpowering.
How to Find Your Perfect Peloton Seat Depth
You’ll want enough leg extension so every pedal stroke feels natural rather than forced—this means aiming for 90% extension at the bottom of each cycle without fully straightening your knees, which could strain them over time if repeated excessively throughout workout sessions.
Common Mistakes When Adjusting Peloton Seat Height
Rushing through setup can lead us astray—we might set our saddles too high because we feel more stretched out initially, even though long-term this isn’t a sustainable position to maintain comfortably, especially during intense workouts where fatigue sets in quicker due to incorrect posture alignment from the start.
Avoid these pitfalls by taking moments to measure twice and ride once approach—it’ll save a lot of hassle (and potential soreness) later on the road, trust me, I’ve been there, done that, got the t-shirt to prove it…
Getting your Peloton saddle height just right isn’t only about comfort; it’s crucial for power and avoiding injury. Think of it as finding the perfect shoe fit—it matters.
Peloton bikes have seats that adjust like our joints, needing to move smoothly and lock tight—get this step down pat.
To nail your seat adjustment, stand beside the bike first, then tweak onboard. It’s a bit like nailing the pressure in a handshake—not too light, not too firm.
Aim for almost full leg extension when pedaling but avoid locking knees to prevent strain during those high-energy sessions.
Don’t rush setting up your saddle tilt; measure twice and ride once to dodge discomfort later on—I learned this lesson the hard way.
The Anatomy of a Peloton Bike Seat
When you’re pedaling hard on your Peloton, the right seat position can make all the difference. But before we dive into adjustments, let’s break down what you’re working with. The heart of comfort and efficiency lies in understanding your bike seat’s anatomy.
Peloton bikes feature a sleek design that includes an adjustable saddle poised for performance. At its core is the seat post—sturdy yet adjustable to fit riders of varying heights. Attached to this is the saddle itself, where design meets functionality; it’s contoured to support your sit bones without sacrificing comfort during those long rides or intense sprints.
A critical component often overlooked is the adjustment lever—a simple mechanism but pivotal for tailoring your ride experience. It works in tandem with the sliding rail system beneath your saddle, allowing micro-adjustments forward or backward as well as up and down to fine-tune how you interact with every pedal stroke.
Finding Your Adjustment Levers
Your journey starts by locating two key levers: one underneath the seat at its base controls vertical movement while another smaller knob dictates horizontal shifts along a metal rail fixed under the padding—the slider which enables precise positioning whether chasing after endurance or power outputs on virtual terrains within Peloton’s expansive library of classes.
Beneath these layers sits intricate hardware; nuts and bolts holding everything together are engineered not just for resilience but also ease-of-use when making tweaks between sessions so nothing hinders progress towards cycling goals set forth each time feet clip into pedals readying oneself against challenges ahead.
Step-by-Step Guide to Adjusting Your Peloton Seat Height
But if it’s off, even just slightly, it can throw your whole ride out of tune.
Locate the Adjustment Lever
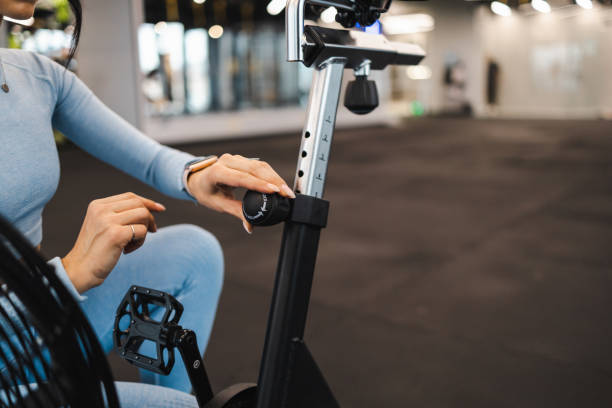
The first step in this symphony of adjustment starts with locating the lever below the seat. It’s what you’ll use to loosen or tighten its grip on the post. Think of it as finding the key before unlocking a door – essential for moving forward.
Raising or Lowering Your Seat
To raise or lower the seat, hold onto both sides firmly; then press down on that lever and glide your saddle up or down. This movement should be smooth, akin to adjusting a telescope’s lens until you hit clear skies.
Securing The Ideal Height
Once you’ve found where comfort meets capability—that point where your leg has a slight bend at full extension—tighten that lever back up with confidence. Imagine clicking shut a padlock; once done correctly, everything stays securely in place.Trek bikes, among others, employ similar mechanisms which ensure adjustments stay put during vigorous rides.
Dialing In Precision
If minute adjustments are needed after test riding—the kind where only fractions make all difference—loosen ever so lightly again and nudge into position before re-tightening—a tweak here often makes miles worth difference later on Specialized models advocate this precision approach too.
No one enjoys those ‘almost perfect’ setups when we’re aiming for perfection itself. So remember: while these steps may seem small individually they add up big time towards achieving optimal comfort—and thus peak performance—in every pedal stroke.
Adjusting your Peloton seat is like tuning an instrument—nail it for a great ride. Locate the lever, smoothly adjust the height, then lock it in place for comfort and performance. Fine-tune as needed because small tweaks lead to big gains on every pedal stroke.
How to Find Your Perfect Peloton Seat Height
You wouldn’t wear shoes that don’t fit, right? Same goes for riding a bike—seat adjustment is like tailoring your bike to fit you perfectly.
The Goldilocks Zone: Not Too High, Not Too Low
Imagine pedaling with knees too bent or legs overextended—it feels off, doesn’t it? To get the height just right, stand next to your bike and bring the seat up in line with your hip bone. This provides you with a solid footing. But remember, this isn’t an exact science because leg length varies more than our hips do.
Riding Position Matters: Adjusting for Comfort and Power
Once on the saddle, when you push down on one pedal at its lowest position (that’s 6 o’clock), there should be a slight bend in your knee—about 25-35 degrees if we’re getting technical. If you’ve got access to tools like goniometers, they can help nail down this angle precisely. No fancy tools? No problem. Just make sure that fully extended foot can still comfortably reach the pedal without locking out your knee.
A Personal Touch: Fine-Tuning Your Fit
You’ve probably heard “listen to your body” before—but here it’s non-negotiable. After setting the basic height following those guidelines above, take her for a spin. Notice any discomfort after several rides? Time for some tweaks. Move it up or down incrementally until things feel smooth as butter throughout each ride.
Making these adjustments might seem minor but think of them as tuning an instrument—the better tuned it is, the better performance you’ll get from both machine and rider alike.
Adjusting your Peloton seat to the right height boosts workout effectiveness and prevents injury. Think of it as custom-fitting your ride.
Find that ‘Goldilocks zone’ by aligning the seat with your hip bone, then fine-tune while riding for a feel-good fit—no fancy tools needed.
Common Mistakes When Adjusting Peloton Seat Height
Adjusting your Peloton seat height seems straightforward, but it’s easy to slip up. One common mistake is not tightening the adjustment lever enough, which can lead to a wobbly ride or the seat sliding down mid-workout. This isn’t just annoying; it could throw off your form and risk injury.
Failing to Align with Hip Bone
The perfect seat height aligns with your hip bone when standing next to the bike. Often people eyeball this measurement and miss by an inch or two—this might seem minor but even small deviations impact knee health over time.
To avoid this error, stand straight next to your bike and place your hand on top of your hip bone—make sure that part of you lines up parallel with the bike’s saddle while adjusting. Trust me; those few extra moments spent measuring pay off in comfort during rides.
Ignoring Leg Extension
Riders sometimes forget about proper leg extension too. Your leg should have a slight bend at the bottom of each pedal stroke—not completely straight nor overly bent. If you’re reaching for pedals or knees are cramped, something’s off.
A quick fix? Sit on the saddle and put one heel on a pedal at its lowest point—you should be able just barely reach without tilting hips side-to-side if you’ve nailed it right.
Neglecting Post-Adjustment Checks
Last but not least: skipping post-adjustment checks. After finding what feels like a good fit, take it for a test spin before committing full force into training sessions because initial feelings can deceive as muscles warm-up things shift slightly so always recheck after warming up.
Making these adjustments might require hopping off more than once but better safe than sorry—a well-fitted seat means less strain on joints plus more power output thanks efficiently transferring energy from legs through pedals.
Don’t just eyeball your Peloton seat height—measure up against your hip bone for accuracy. Make sure it’s tight enough to avoid a shaky ride and double-check after warming up to ensure no slips or strains.
To nail the perfect leg extension, sit on the bike with one heel on the pedal at its lowest point; if you can reach without wiggling, you’re set. This keeps knees happy and boosts your power in every pedal stroke.
Comparing Peloton Seat Adjustment to Traditional Bikes
Peloton exercise bikes and traditional cycles might look similar, but when it comes to seat adjustment, they’re as different as road racing is from mountain biking. Let’s get right into the unique features that set them apart.
The Anatomy of a Peloton Bike Seat
If you’ve ever tinkered with a regular bike, you know adjusting the seat usually involves loosening a bolt under the saddle. But on your Peloton, things are sleeker – and sometimes trickier. You have knobs and levers designed for quick adjustments without tools.
This difference isn’t just about convenience; it reflects how often riders adjust their seats. On traditional bikes, once you find your sweet spot, you rarely change it unless another rider uses your bike or you transport it somewhere new.
Step-by-Step Guide to Adjusting Your Peloton Seat Height
Adjusting your seat height on a Peloton requires finesse. First off, unlock the lever by pulling it away from the frame – this disengages the lock mechanism inside. Next up? Slide that seat either up or down until it feels like home for your legs’ length.
Riders often miss one crucial step here: re-locking everything securely after making an adjustment can save trouble later on during an intense session.
How to Find Your Perfect Peloton Seat Height
Finding that perfect position means understanding biomechanics more than anything else because comfort leads directly back to performance — whether we’re talking sprint intervals or endurance rides in front of virtual landscapes.
You’ll want to ensure there’s a slight bend in your knee at full extension; too high could strain those joints while too low cheats leg muscles out of proper workloads leading potentially towards injuries nobody wants. Measure carefully against these criteria every time before hopping onto any indoor cycling journey ahead—trust me.
Maintaining Your Peloton Seat Position Over Time
Above all else remember consistency is key. Once dialed into ideal ergonomics make sure each ride starts with checking mechanisms are still tight since vibrations tend loosen parts over multiple workouts causing unexpected shifts mid-exercise if not attended properly beforehand.
Peloton and traditional bike seats might look the same, but they adjust differently. Pelotons use knobs for quick changes without tools—handy since riders often tweak their seat height. Remember to re-lock after adjusting to avoid mishaps during your workout.
For that perfect Peloton fit, aim for a slight knee bend at full extension. Consistency matters; always double-check everything’s tight before you start pedaling.
Advanced Adjustments for Seasoned Cyclists
Seasoned cyclists know that fine-tuning your Peloton bike can make a world of difference in your ride. It’s not just about setting the right seat height; it’s also about making those smaller, precise adjustments that align with your unique riding style and body position mechanics.
Fine-Tuning Saddle Angle
Your saddle’s tilt is more than just comfort; it affects muscle engagement and power output. A level saddle often works well, but some riders benefit from a slight nose-down position to relieve pressure. Alternatively, if you’re finding yourself sliding forward too much during intense sessions, a slight upward tilt might help maintain an optimal position.
Use an inclinometer app on your smartphone to check the angle of your saddle accurately. Aim for no more than a 1-2 degree adjustment at any time so you can assess its impact without overcompensating.
Saddle Fore-Aft Positioning
The fore-aft position determines how far forward or back you sit on the bike. To find this sweet spot, get into cycling shoes and pedal until one leg reaches the bottom of the stroke (6 o’clock position). Your front knee should be directly above that foot’s ball when viewed from the side—a technique known as KOPS (Knee Over Pedal Spindle).
If adjustments are needed, Trek bikes recommend loosening under-saddle clamps slightly—just enough to slide with resistance—and then re-tighten after achieving perfect placement.
Handlebar Height and Reach Adjustment
Last but not least, let’s talk handlebars because they greatly influence upper body comfort and aerodynamics. Your reach towards them should allow for a comfortable bend in elbows without straining shoulders or necks—a common mistake many overlook.
To adjust reach: loosen stem bolts gradually before shifting bars closer or further away then retighten carefully once satisfied with new positioning.
In terms of height, play around with what feels best. Some prefer lower bars for increased leverage and speed, while others opt for higher bars for less strain during longer rides like Santa Cruz Models Offer.
Seasoned cyclists, remember it’s not just seat height that matters. Tweak your saddle angle with an app for precise muscle engagement, adjust fore-aft positioning using the KOPS method for optimal knee alignment, and find the perfect handlebar reach and height to avoid strain and boost aerodynamics.
Maintaining Your Peloton Seat Position Over Time
So, you’ve dialed in the perfect seat height on your Peloton bike. But how do you keep it that way through every sweat session? Let’s get right to making sure your ride remains as smooth and consistent as day one.
Check Before You Ride
A quick pre-ride check can save a ton of hassle down the line. Look at your adjustment levers or knobs; they should be snug but not overtightened—a Goldilocks zone where everything stays put without straining the mechanism. Remember, too tight might wear out parts faster, so aim for secure yet gentle.
If something feels off during this step, take a moment to fix it up before hopping on. This small habit will ensure nothing shifts mid-ride because nobody wants their flow interrupted by unexpected seat drops or slips.
Create Adjustment Marks
Creating visual cues is an easy win. Use a permanent marker or some tape to mark your ideal position once you find it. That way, if anything does move—which can happen over time—you have a clear reference point to return to quickly and with no guesswork involved.
This approach doesn’t just help maintain consistency; it also speeds up getting ready for those times when someone else has used the bike and changed everything around—because we all know sharing equipment comes with its own set of challenges.
Scheduled Reevaluation Is Key
Your body changes—so why wouldn’t your optimal seat height? Set reminders every few months to reevaluate whether your current settings are still giving you what you need from them performance-wise while keeping comfort in mind.
Riders often overlook this aspect because once they’re comfortable, there’s little motivation to tweak things further—but trust me when I say that even minor adjustments can lead to noticeable improvements in both output and injury prevention over time.
Leverage Lock-In Features When Available
Peloton bikes come equipped with features designed specifically for holding adjustments steady across workouts. Engaging these lock-in mechanisms correctly can mean less fiddling and more riding at peak efficiency without any unwanted movement throwing off your game.
Keep your Peloton seat perfect by doing a quick check before you ride and marking your ideal position. Regularly reevaluate the height as your body changes, and use lock-in features to keep things steady.
How to Adjust Peloton Seat Height FAQs
Should Peloton handlebars be higher than seat?
Peloton handlebars can go higher for comfort, especially if you’re new to cycling or have back issues.
What is the minimum height for Peloton?
The minimum user height for a smooth ride on a Peloton bike is 4 feet 11 inches.
What height should handlebars be on a spin Bike?
Handlebar height varies; align them with your seat or slightly higher to reduce strain on your back and shoulders.
How much height clearance do you need for a Peloton Bike?
Aim for at least 24 inches of clear space above where you’ll mount your Peloton to avoid ceiling clashes.
Conclusion
Now, you’ve mastered how to adjust peloton seat height. That’s your power play for a prime ride. Remember, comfort and performance hinge on that perfect alignment.
Getting it right means fewer injuries and more burn. It’s all about the sweet spot where leg extension meets pedal efficiency.
Your throne awaits adjustment no longer—your next Peloton challenge is just a smooth glide away.